
Valentine’s Day is just around the corner, and what better way to show your love than with some delightful homemade cake pops? These adorable treats are not only delicious but also incredibly fun to make. In this post, I’ll guide you through the entire process, from making the cake pop dough to decorating them beautifully. Let’s get started!
Ingredients
To create your cake pops, you’ll need a few simple ingredients. Here’s what you will need:
- Red Velvet Cake (or any cake of your choice)
- 30 g Butter
- 50 g Icing Sugar
- Chocolate (for attaching the sticks and coating)
- Pearl Sugar (for decoration)
Feel free to substitute the red velvet cake with chocolate or vanilla cake if you prefer. The key is ensuring that your cake is well-kneaded into a slightly firm dough.
Making the Cake Pop Dough
The first step in creating your cake pops is to prepare the cake dough. Here’s how you can do it:
- Start by baking your red velvet cake according to your favourite recipe or using a store-bought mix.
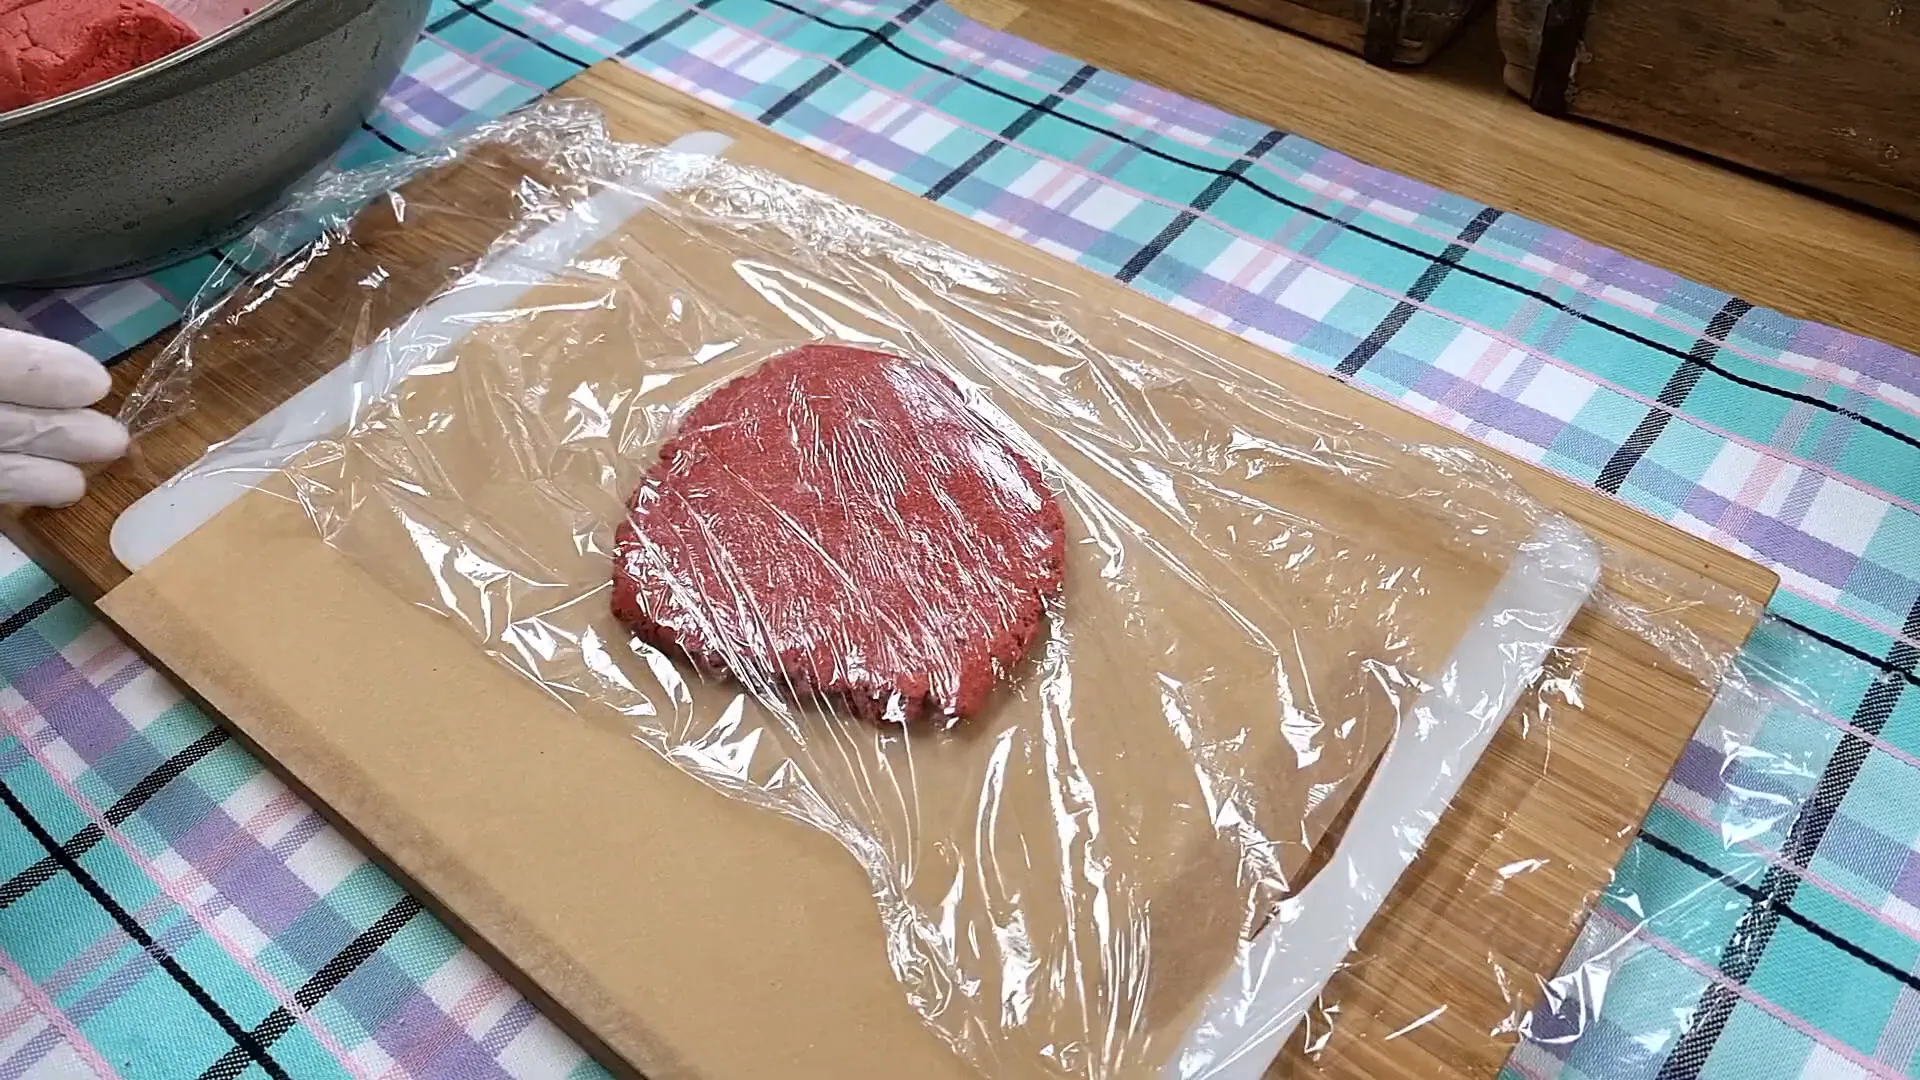
- Once the cake is baked and cooled, crumble it into a large mixing bowl.
- Add 30 g of butter and 50 g of icing sugar to the crumbled cake. Knead the mixture well until it forms a dough-like consistency.
- Divide the dough into 20 equal portions, rolling each into a ball shape.
- Place the cake balls onto a tray lined with parchment paper.
After shaping the cake balls, it’s essential to chill them in the fridge for about 30 minutes. This helps them firm up, making it easier to attach the sticks later on.
Shaping the Cake Pops
Once your cake balls have chilled, it’s time to shape them into perfect pops. Follow these steps:
- Take the chilled cake balls out of the fridge.
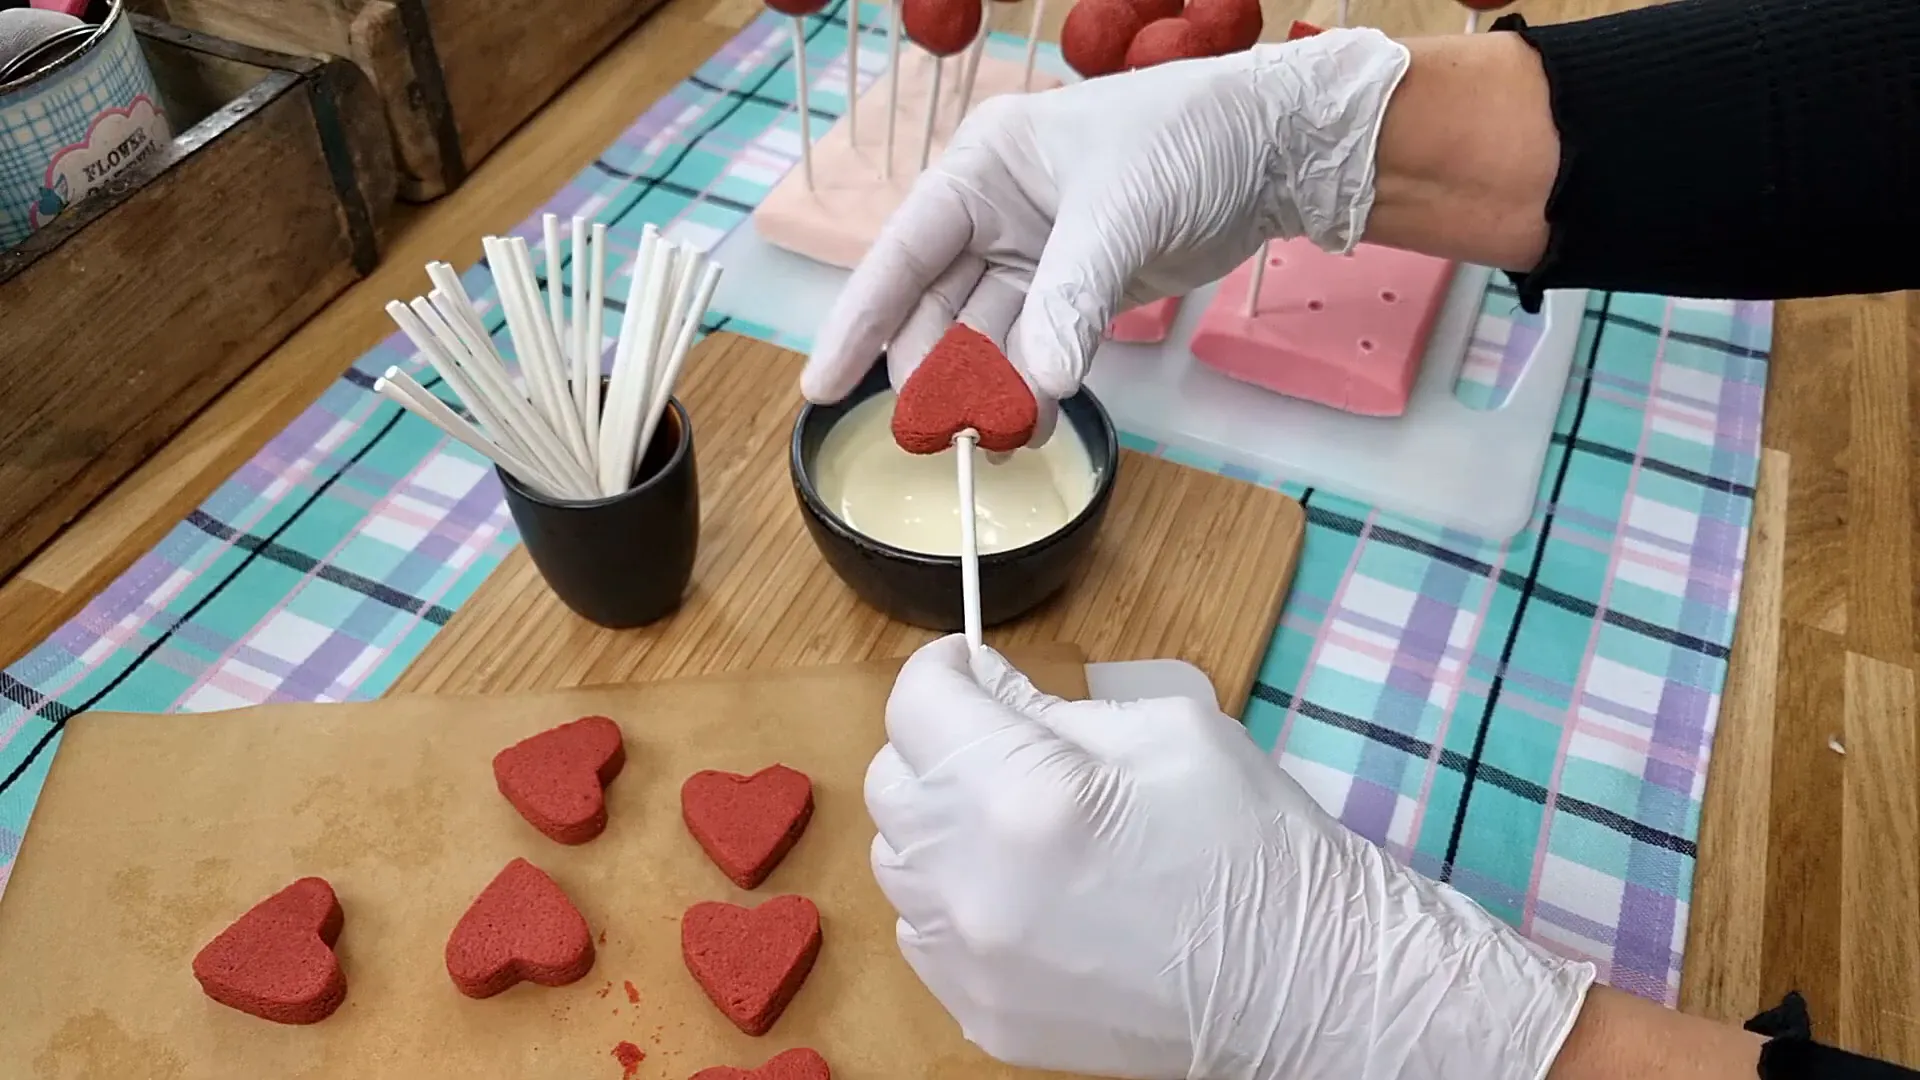
- Using chocolate as an adhesive, dip the end of a lollipop stick into the melted chocolate.
- Insert the stick into the centre of each cake ball, pushing it about halfway through.
- Place the pops back on the tray and return them to the fridge for another 15 minutes to set.
Chilling the pops again after inserting the sticks helps to ensure that they won’t fall apart when you dip them in chocolate later.
Decorating the Cake Pops
Now comes the fun part—decorating your cake pops! Here’s how to make them look festive and delicious:
- Prepare your melting chocolate according to package instructions.
- Once melted, dip each cake pop into the chocolate, ensuring it is fully coated.
- Allow any excess chocolate to drip off, then immediately sprinkle with pearl sugar before the chocolate sets.
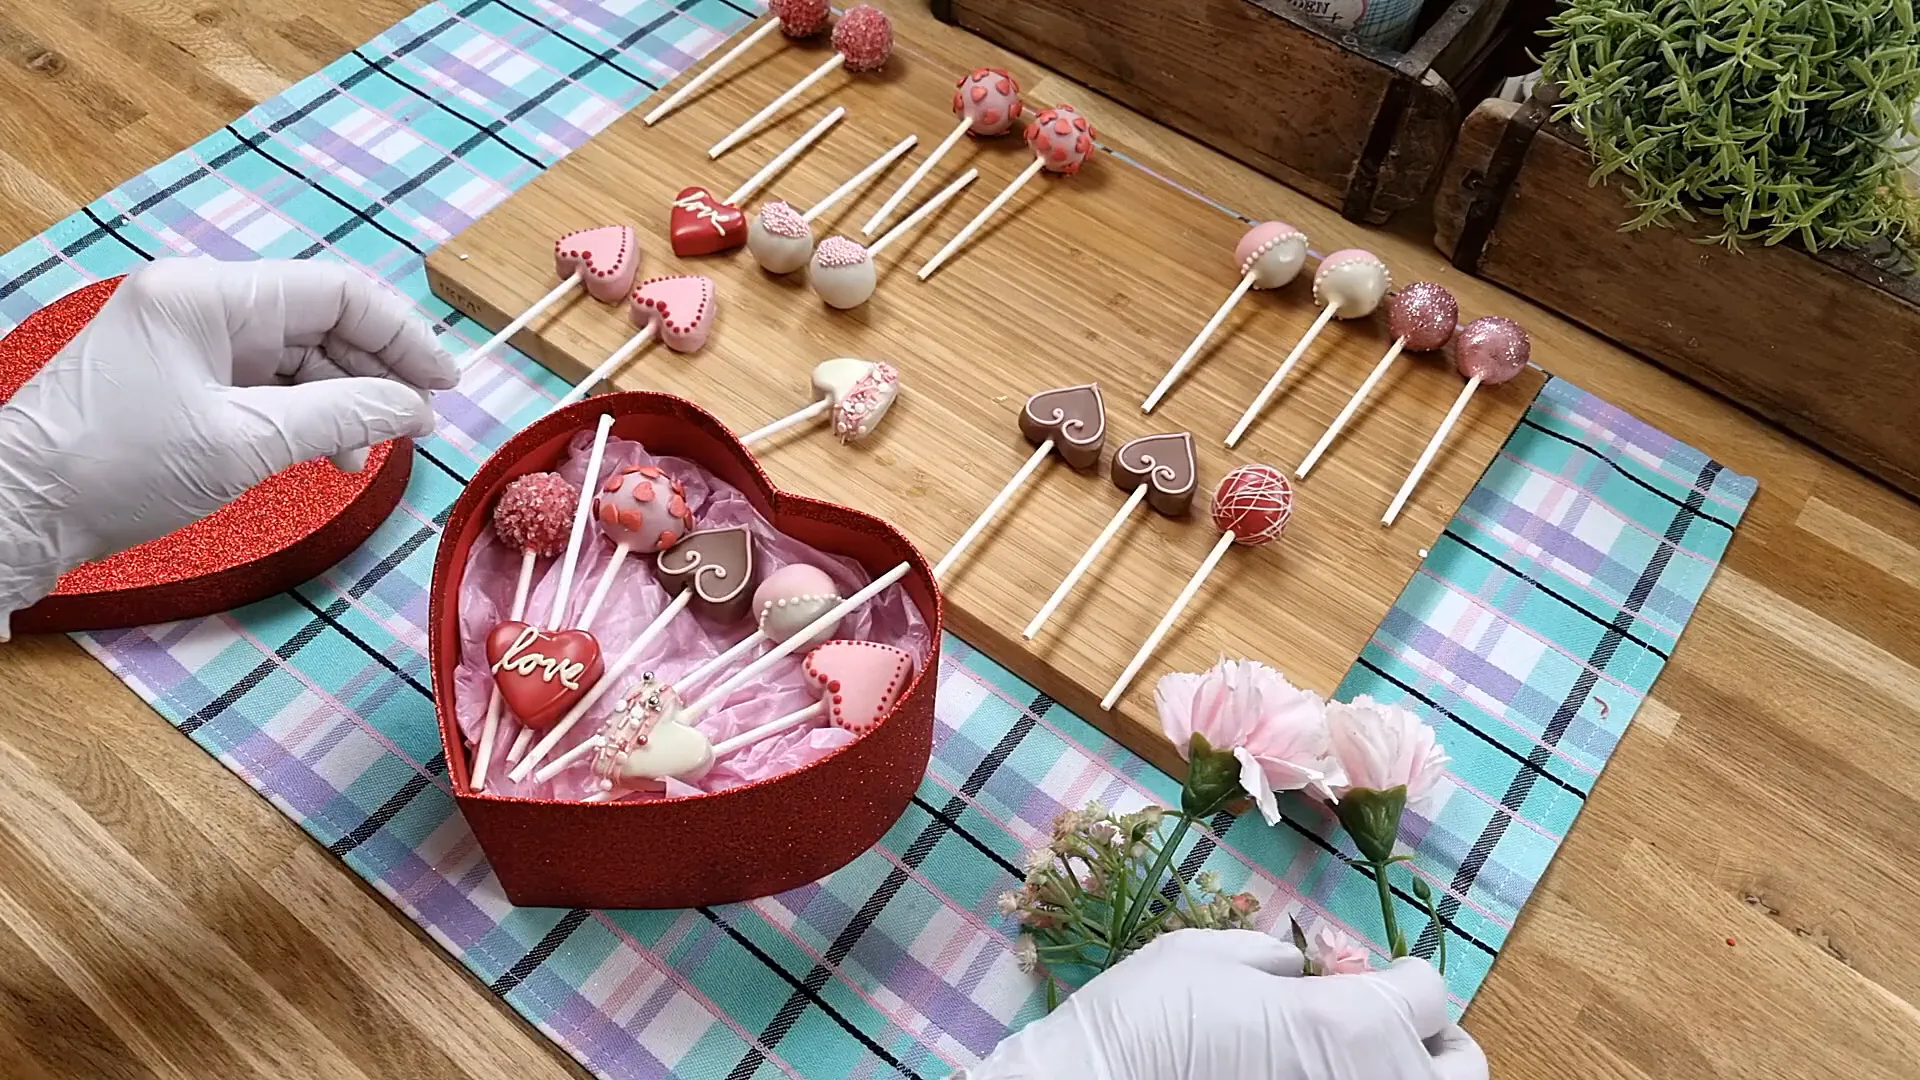
- Once all cake pops are decorated, place them in a styrofoam block or a decorated box to dry completely.
Using pearl sugar not only adds a lovely texture but also gives a beautiful shine, perfect for Valentine’s Day!
Enjoy Your Sweet Creations!
Your Valentine’s Day cake pops are now ready to be enjoyed! These sweet treats make for a perfect gift for your loved ones or a delightful addition to any Valentine’s Day celebration. They look gorgeous and taste absolutely scrumptious!
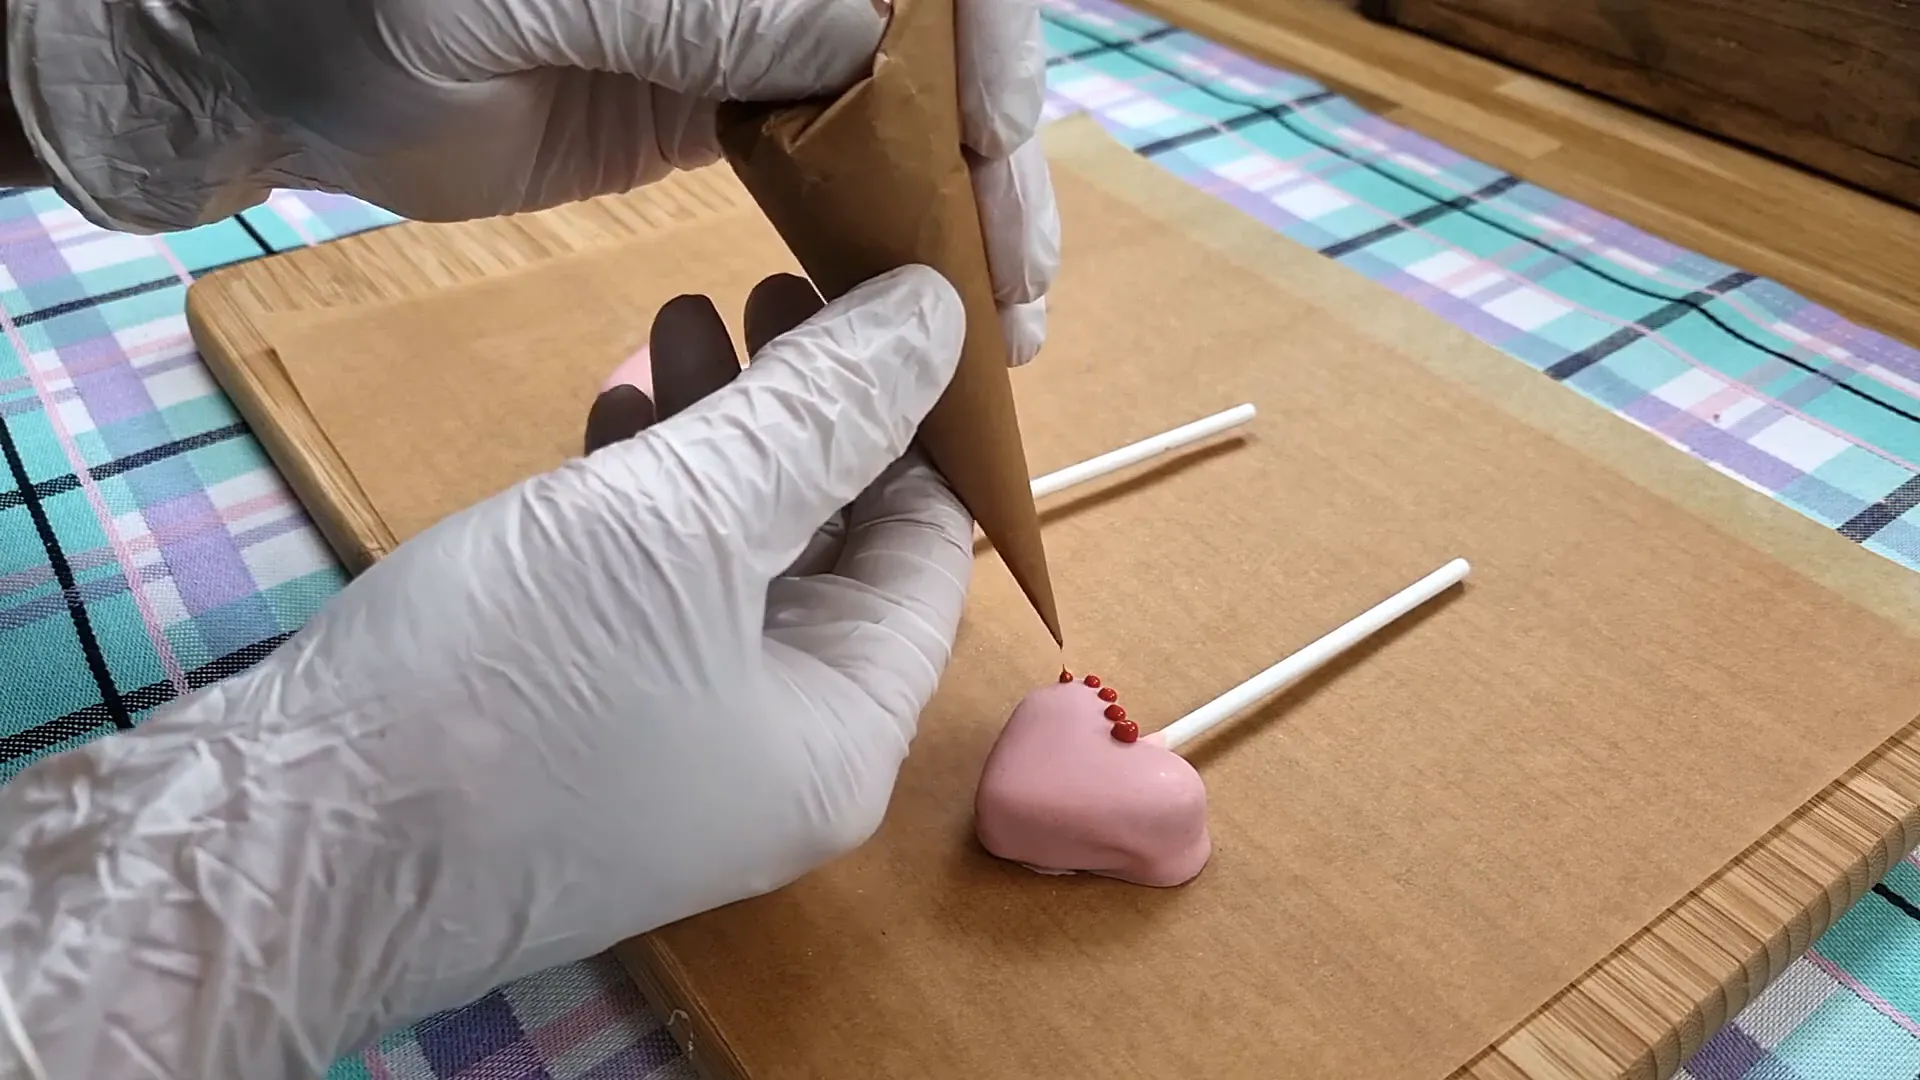
Remember, the fun doesn’t stop here. Get creative with different decorations and flavours. You can use various sprinkles, drizzle with white chocolate, or even use coloured candy melts to match your theme. The possibilities are endless!
Conclusion
Making cake pops is not only a great way to get into the holiday spirit, but it’s also a fantastic activity to do with friends or family. So gather your loved ones, whip up some cake pops, and spread the love this Valentine’s Day!
Thank you for joining me in this delightful baking adventure. I hope you feel inspired to create your own Valentine’s Day cake pops. Happy baking!


Valentine’s Day Cake Pops
Ingredients
- 1 Cake Red Velvet Cake Or any cake of your choice
- 30 g Butter Softened
- 50 g Icing Sugar
- 200 g Chocolate For coating and attaching sticks
- 50 g Pearl Sugar For decoration
Instructions
- Making the Cake Pop Dough
- Bake your red velvet cake using your favorite recipe or a store-bought mix.
- Let the cake cool completely, then crumble it into a large mixing bowl.
- Add 30 g of butter and 50 g of icing sugar to the crumbled cake. Knead until a dough-like consistency forms.
- Divide the dough into 20 equal portions and roll each into a ball.
- Place the cake balls on a parchment-lined tray and chill in the fridge for 30 minutes.
- Shaping the Cake Pops
- Remove the chilled cake balls from the fridge.
- Melt some chocolate in a microwave-safe bowl.
- Dip the tip of a lollipop stick into the melted chocolate, then insert it into the center of a cake ball.
- Repeat with all cake pops, then place them back on the tray and refrigerate for 15 minutes.
- Decorating the Cake Pops
- Melt the chocolate for coating according to package instructions.
- Dip each cake pop into the melted chocolate, ensuring an even coat.
- Let excess chocolate drip off, then immediately sprinkle with pearl sugar.
- Place each cake pop upright in a styrofoam block or a decorated box to dry
Notes
- Feel free to use chocolate or vanilla cake instead of red velvet.
- Experiment with different toppings like heart-shaped sprinkles or edible glitter.
- If the cake pop dough feels too dry, add a little more butter for better binding.
- Store cake pops in an airtight container at room temperature for up to 3 days or refrigerate for up to a week.
Nutrition (Per Serving)
| Nutrient | Amount |
|---|---|
| Calories | 120 kcal |
| Carbohydrates | 15 g |
| Fat | 6 g |
| Sugar | 10 g |
| Protein | 1 g |